Introduction to Azure Cognitive Search with Blazor WebAssembly
In this post, I explain how I added search to this blog using Azure Cognitive Search Service. First, I'll go through creating the search service and index in the Azure Portal and then I walk through configuring the application, which is written in Blazor WebAssembly to execute simple searches and display search results. This example uses Visual Studio 2022, .NET 6, and Blazor WebAssembly. The full source code is available on GitHub.
Create Search Service
The first step is to create a search service in Azure. The search service is part of Azure's Applied AI Services. In the Azure portal, search for Applied AI Services and choose Cognitive Search from the menu on the left side. Then click Create in the top nav bar.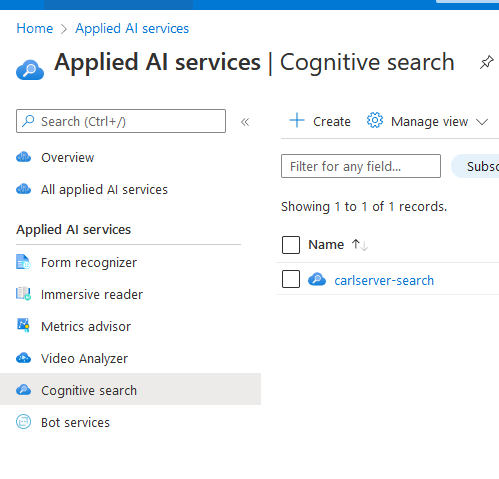
This opens the resource create wizard for Cognitive Search. Enter the subscription, resource group, and name for the search service. I chose the free tier for pricing. This provides 3 indexes and indexers, 1 replica, and 50 MB of storage for free.
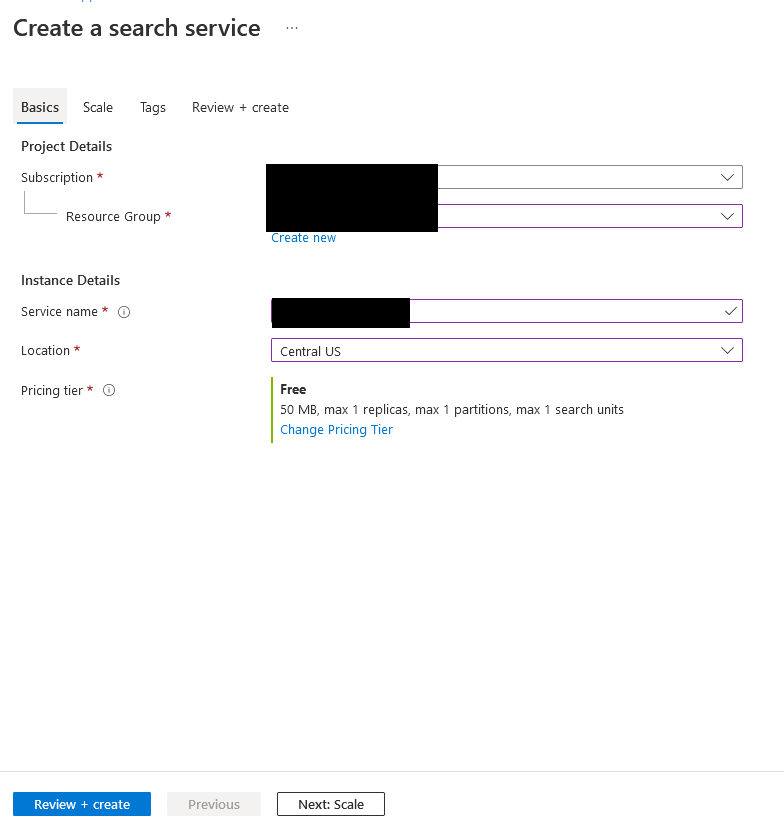
The other options are Scale and Tags. Since I want to keep this free, I will leave scaling options set to the defaults and not add any tags. Click on Review + Create. This brings up the final review screen. Once everything is verify click Create to create the search service.
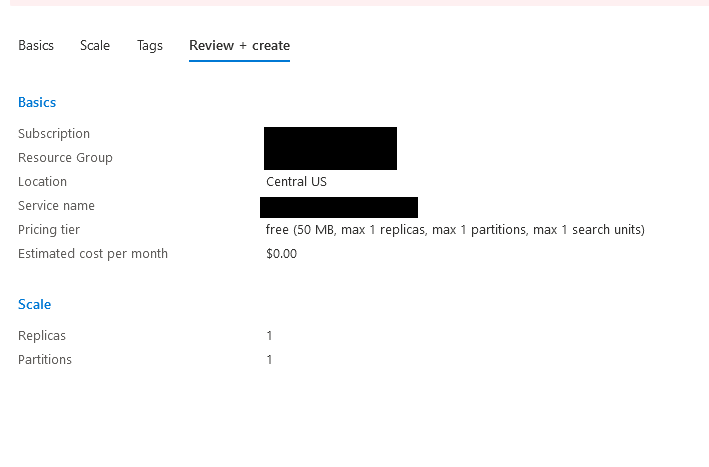
After the service is created, I need to add the data from my blog posts to it and I'll do that in the next section.
Add data source to be searched
There are 3 things required to search data, a data source, an index, and an indexer. At the time of this writing, Azure search offers a number of options out of the box for a data source including blob storage, data lake storage, an azure sql database, cosmos db, and table storage. It can import data from one of these data sources and use it to create an index. The indexer is used to query the data source and update the index on a periodic basis. It's also possible to use the Azure Cognitive Search client library to create an index and push data to it programmatically to create your own custom indexer from a custom data source.The data for this blog is stored in blob storage so I'll use that as the data source to generate the index and create an indexer. I'll show how I did this using the azure portal. On the Overview page of the search resource, there is an option to Connect your data. Click on Import Data.
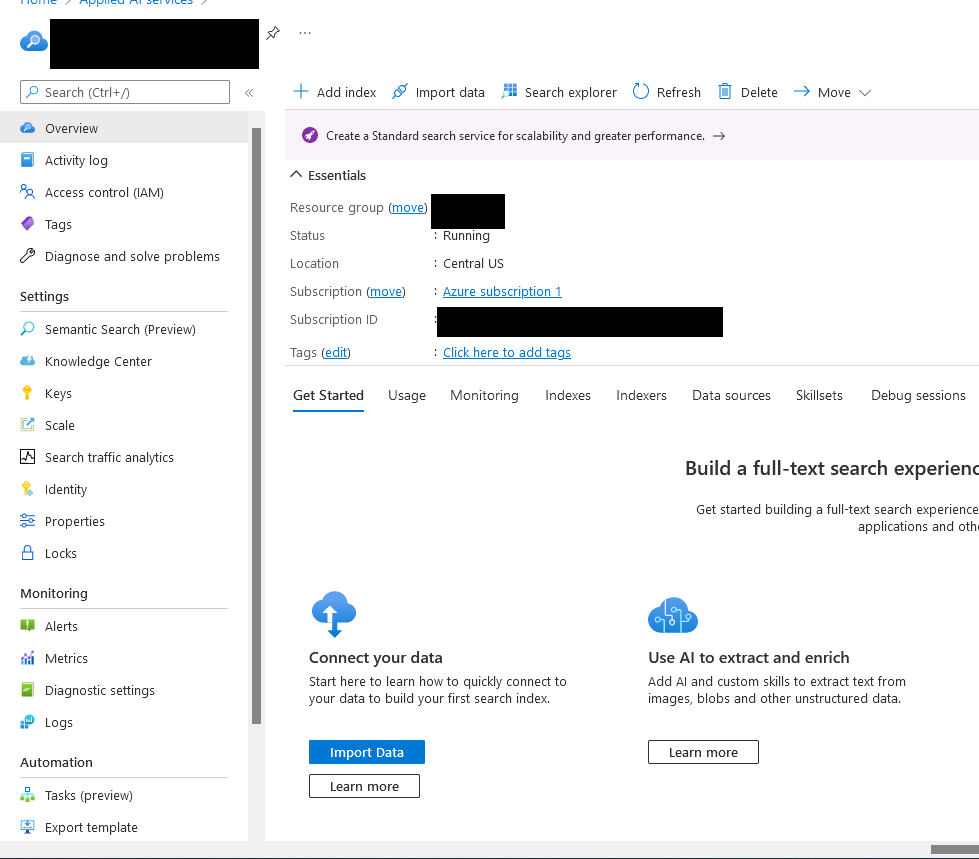
The first step is to setup a data source. I chose Azure Blob Storage and picked my storage account and container that contains the data to be indexed. In this case, it's a json file containing an array of blog posts.
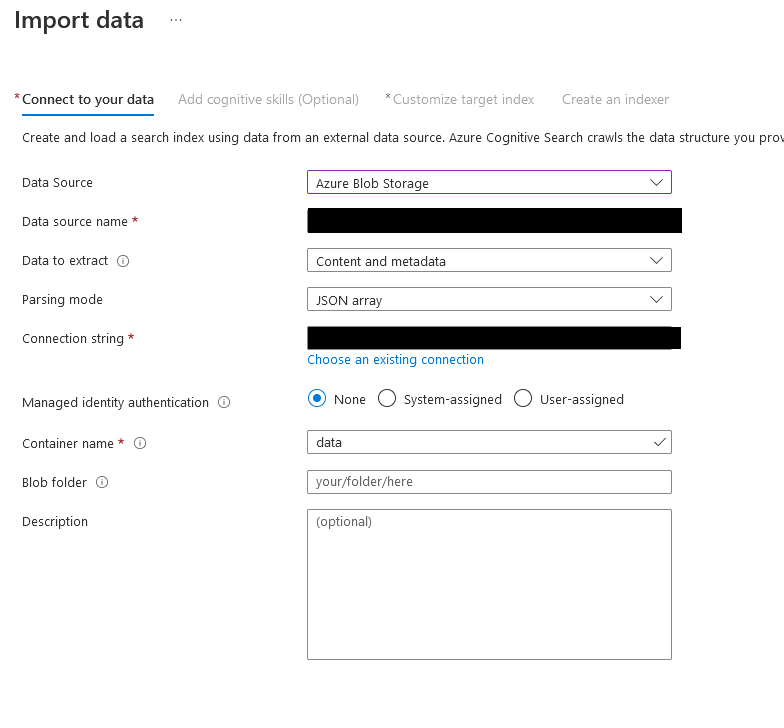
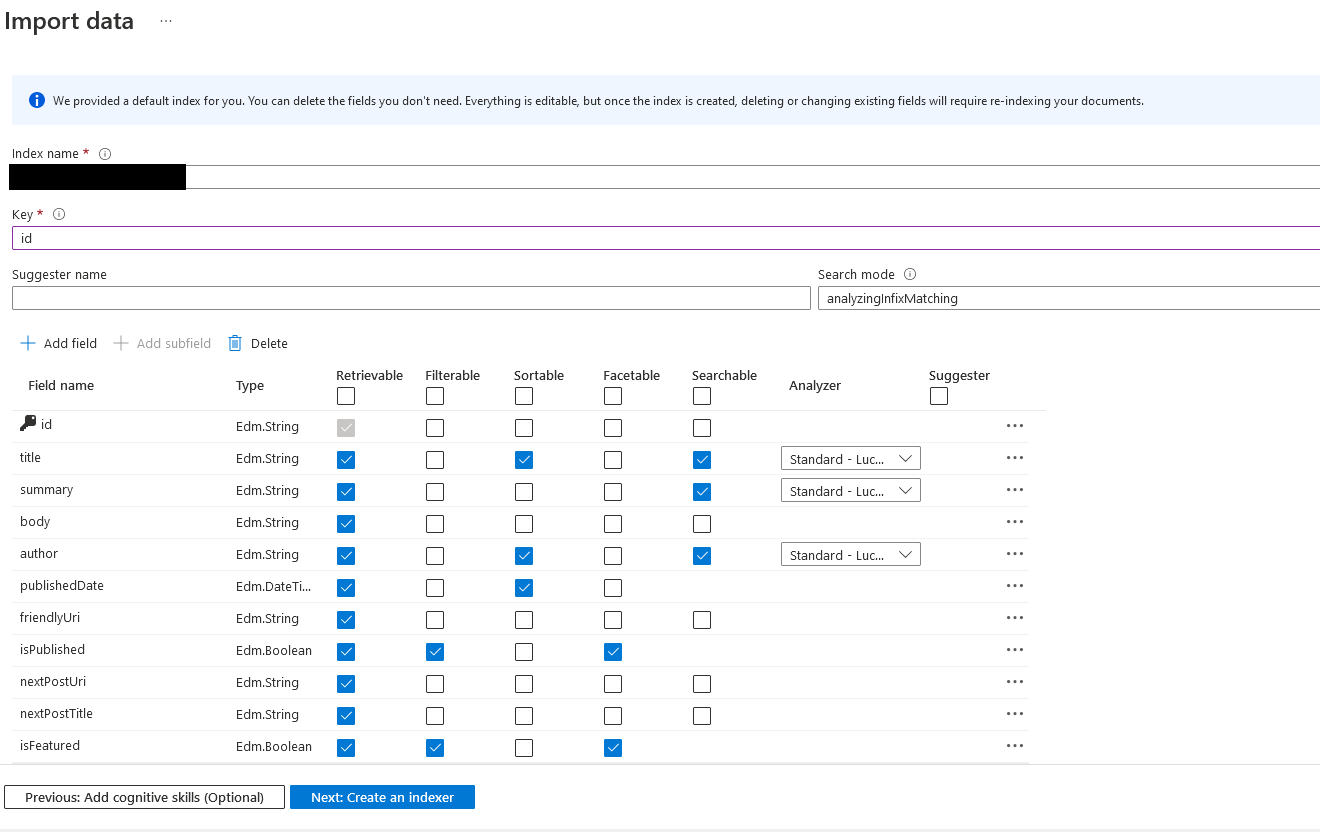
I skipped the Add Cognitive Skills section and went to the Customize Target Index step. This lists a default index schema based on the data source and allows selections of which fields are searchable, filterable, etc. Be careful with selections here because only Retrievable can be changed once the index is created. Changing the other attributes requires the field to be deleted, recreated, and re-indexed.
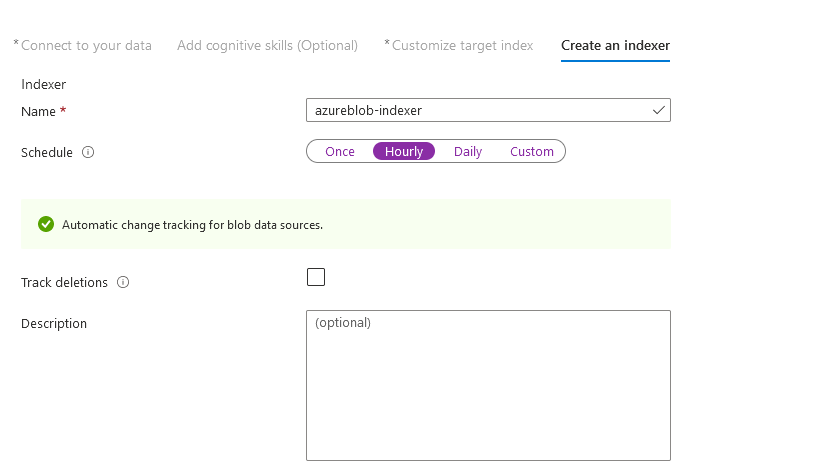
The final step is to create the indexer. It requires a name and I left the schedule at hourly, which was the default. This can be changed depending on the requirements for data freshness.
That's it! There is now a data source, an index, and an indexer setup. In the next section I'll show how to query the index using the Search explorer in the Azure portal and then I'll modify the Blazor WebAssembly app to execute searches against the index.
Executing a Search through Search Explorer
Searching can be done using GET or POST requests to the search service specifying the index, API name, and API key. There is a special query key provided by the search service that only allows querying and not modifying the index. Search queries use the OData Syntax. The Search Explorer in the Azure portal can be used for testing searches. This is found along the top navigation bar from the overview page. This allows for GET requests against a specific index and API version and can be good for testing query syntax. This can be helpful when reviewing search scores, or testing complex filter syntax.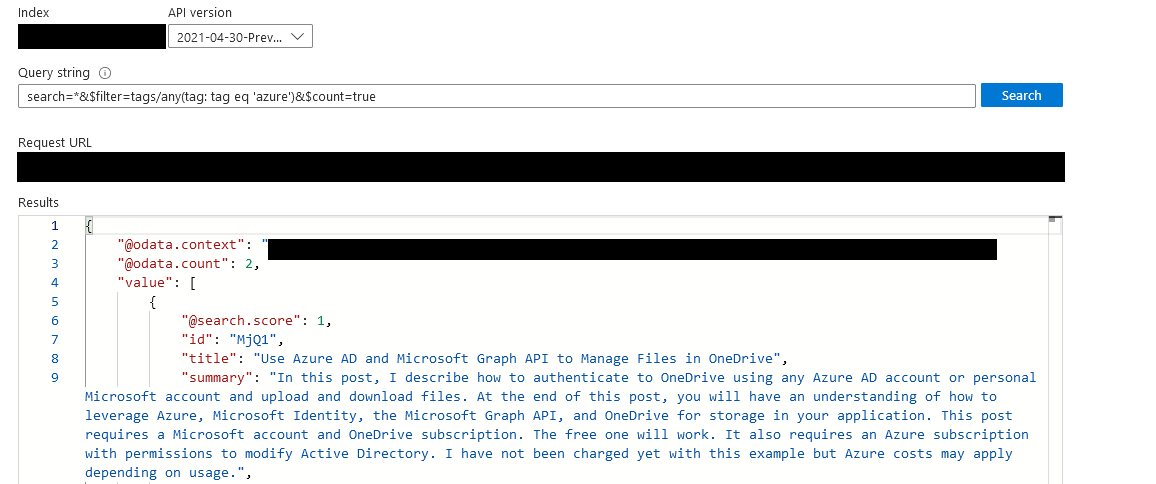
Adding a search bar to a Blazor Web Assembly App
Now that I have a search index setup and filled with the blog data and I have verified I can search that data through the search explorer, it's time to add search functionality to the the site (Blazor WebAssembly app). The first step is to add a search box to the top navigation bar along with a property to keep track of the search text. This button navigates to the search results page, passing the search query as a parameter to that page.
<div class="navbar-form navbar-left">
	<div class="form-group">
		<input type="text" class="form-control" placeholder="Search" @bind="SearchQuery">
	</div>
	<a href="/blog/search/@Helpers.StringEncoder.EncodeString(SearchQuery)" class="btn btn-primary">Search</a>
</div>

@code {
    public string SearchQuery { get; set; } = String.Empty;
}
Add a search results page
The next step is to add the search results page that will execute the search query and display a list of blog posts with the results. However, to make this work, I need to configure CORS on the search index. So back in the Azure portal, navigate to the search service, click on Indexes and click the name of the index.
Then click on the cors tab and setup cors to communicate with the website.
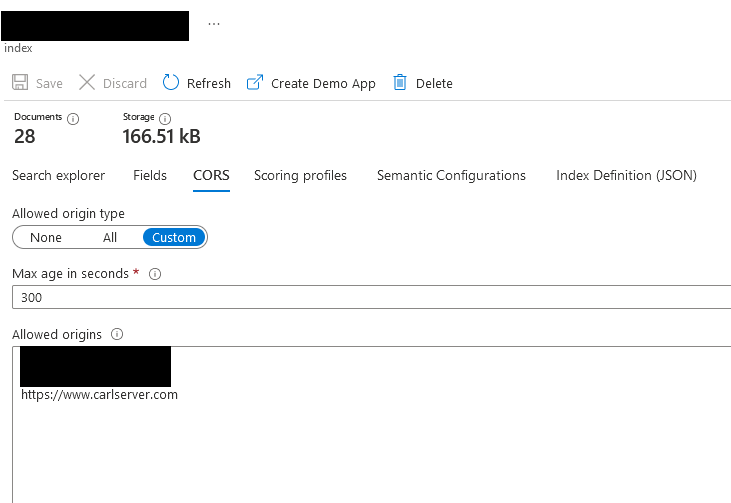
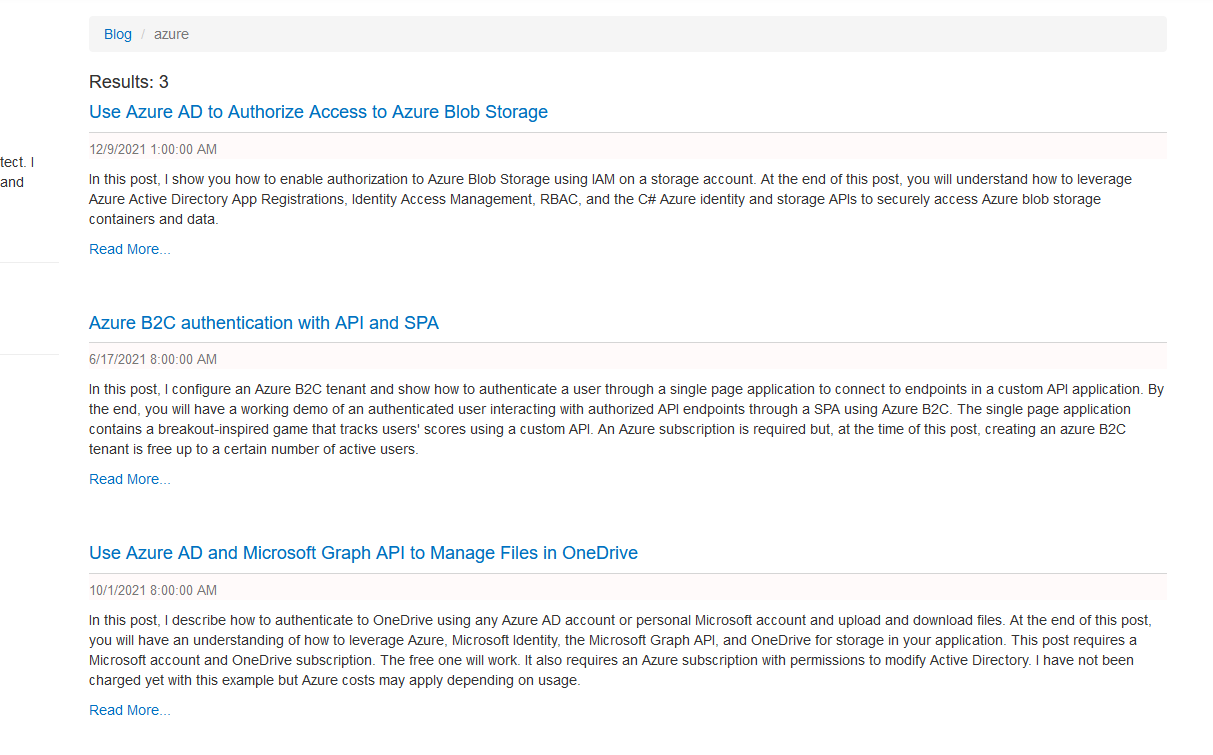
Now back to the application. I created a new blazor page that will contain the list of search results. The first step is to execute the search using a get request, passing the search query, api version, and api key. This comes back as a json list of documents which is parsed into a list of posts to display on the page.
<div class="col-md-8">
       @if (IsError)
        {
             <div class="alert alert-danger">@ErrorMessage</div>
        }
        else
        {
            <ol class="breadcrumb">
                    <li class="breadcrumb-item"><a href="/blog">Blog</a></li>
                    <li class="active breadcrumb-item">@Query</li>
                </ol>
            <h4>Results: @ResultCount</h4>
            <PostList Posts="Posts" />
        }
</div>

    [Parameter] public string Query { get; set; }
    public string ResultCount { get; set; }
    public List<PostModel> Posts { get; set; }
    public bool IsError { get; set; }
    public string ErrorMessage {  get;  set; }

    protected override async Task OnParametersSetAsync()
    {
        Posts = new List<PostModel>();
        await ExecuteSearch();
    }

    private async Task ExecuteSearch()
    {
        string query = Query;
        try
        {
            if (String.IsNullOrEmpty(query))
            {
                query = "*";
            }

            var requestMessage = new HttpRequestMessage()
                {
                    Method = new HttpMethod("GET"),
                    RequestUri = new Uri("https://carlserver-search.search.windows.net/indexes/azureblob-index/docs?api-version=2020-06-30&$count=true&search=" + StringEncoder.EncodeString(query) + "&$filter=isPublished eq true")
                };

            requestMessage.Headers.Add("api-key", Constants.ApiKey);

            var response = await Http.SendAsync(requestMessage);
            var responseStatusCode = response.StatusCode;

            string? responseBody = await response.Content.ReadAsStringAsync();

            ParseSearchResults(responseBody);
        }
        catch (Exception e)
        {
            IsError = true;
            ErrorMessage = e.Message;
        }
    }


