Setup libGDX Project In Android Studio
libGDX is a cross platform game development library for Java developers. It supports desktop, Android, HTML 5, and IOS, although I have only used it for desktop and Android platforms. It is similar to MonoGame and the XNA framework. If you are familiar with those frameworks in .NET and have basic knowledge of the Java programming language, creating games in libGDX is pretty straightforward and fun.
I assume Android Studio, the Android SDK, and Java are already installed. After installing those go to the libGDX download page and download the project setup app.
This is a jar file. Double click to open it. Specific project details go here. There are a number of extensions and advanced options available. Gradle is used to manage these dependencies, however, I have not tried using more than the defaults.
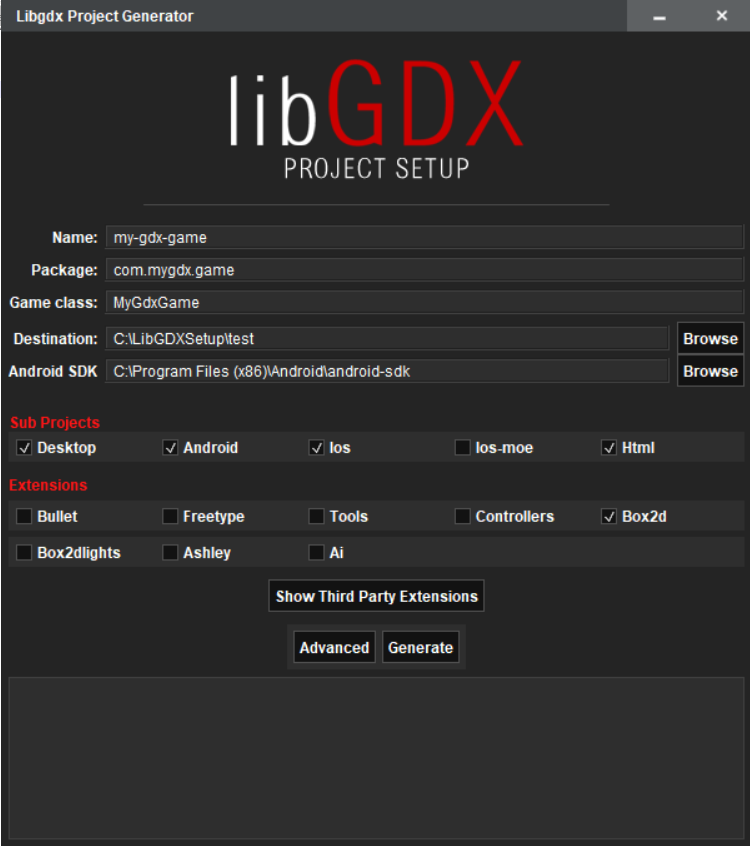
After all desired details are entered click 'Generate'. This is where I get my first prompt. This prompt is asking if I would like to use a more recent version of the Android build tools. If you see this prompt as well, click 'Yes'.

That prompt is followed by another prompt stating that I have a more recent Android API than the one recommended. I also select 'Yes' to this prompt.

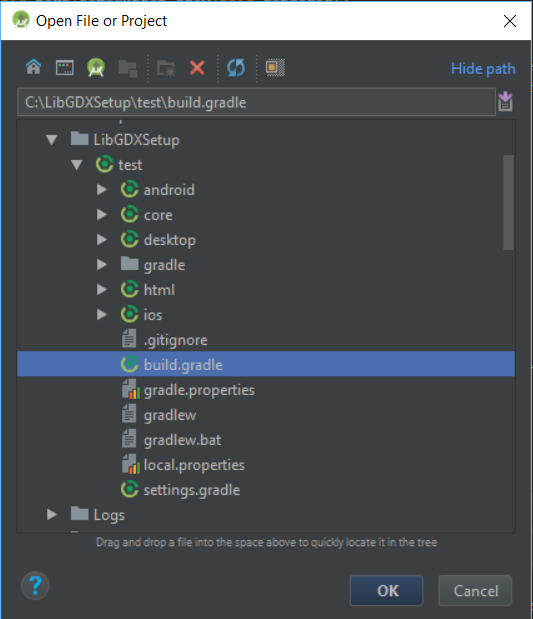
At this point the libGDX setup app will create the project files in the destination directory chosen at the beginning. The next step is to open Android Studio and open the build.gradle file that was created.
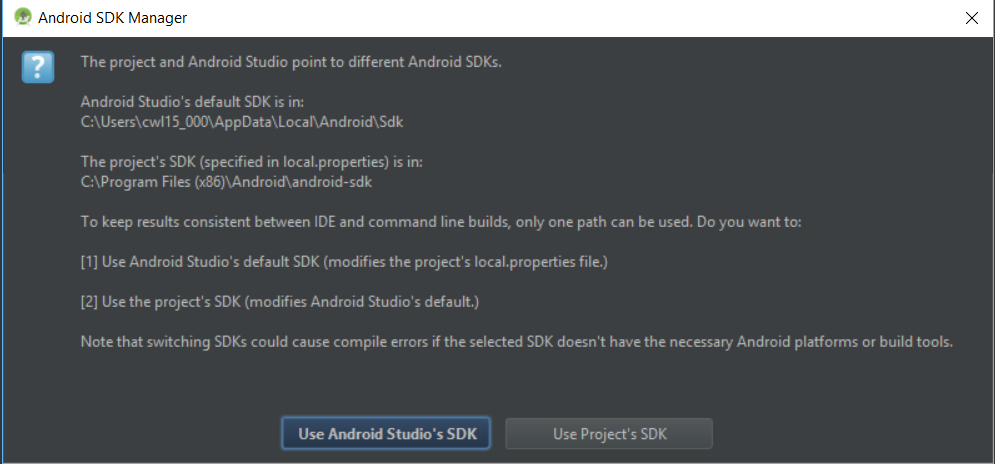
I get a prompt that the project and Android Studio point to 2 different Android SDKs. I think this is because I also have Xamarin installed. If you also get this prompt choose to use Android Studio's SDK.
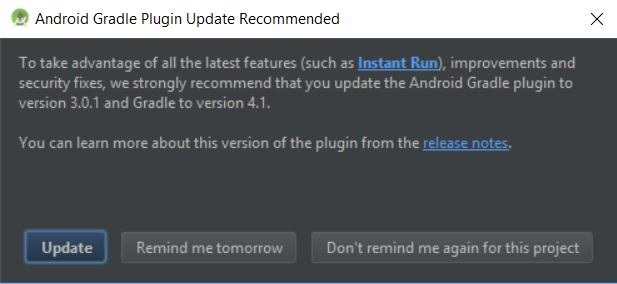
After the project loads, Android Studio may prompt you to update gradle. Choose 'Don't remind me again for this project'.
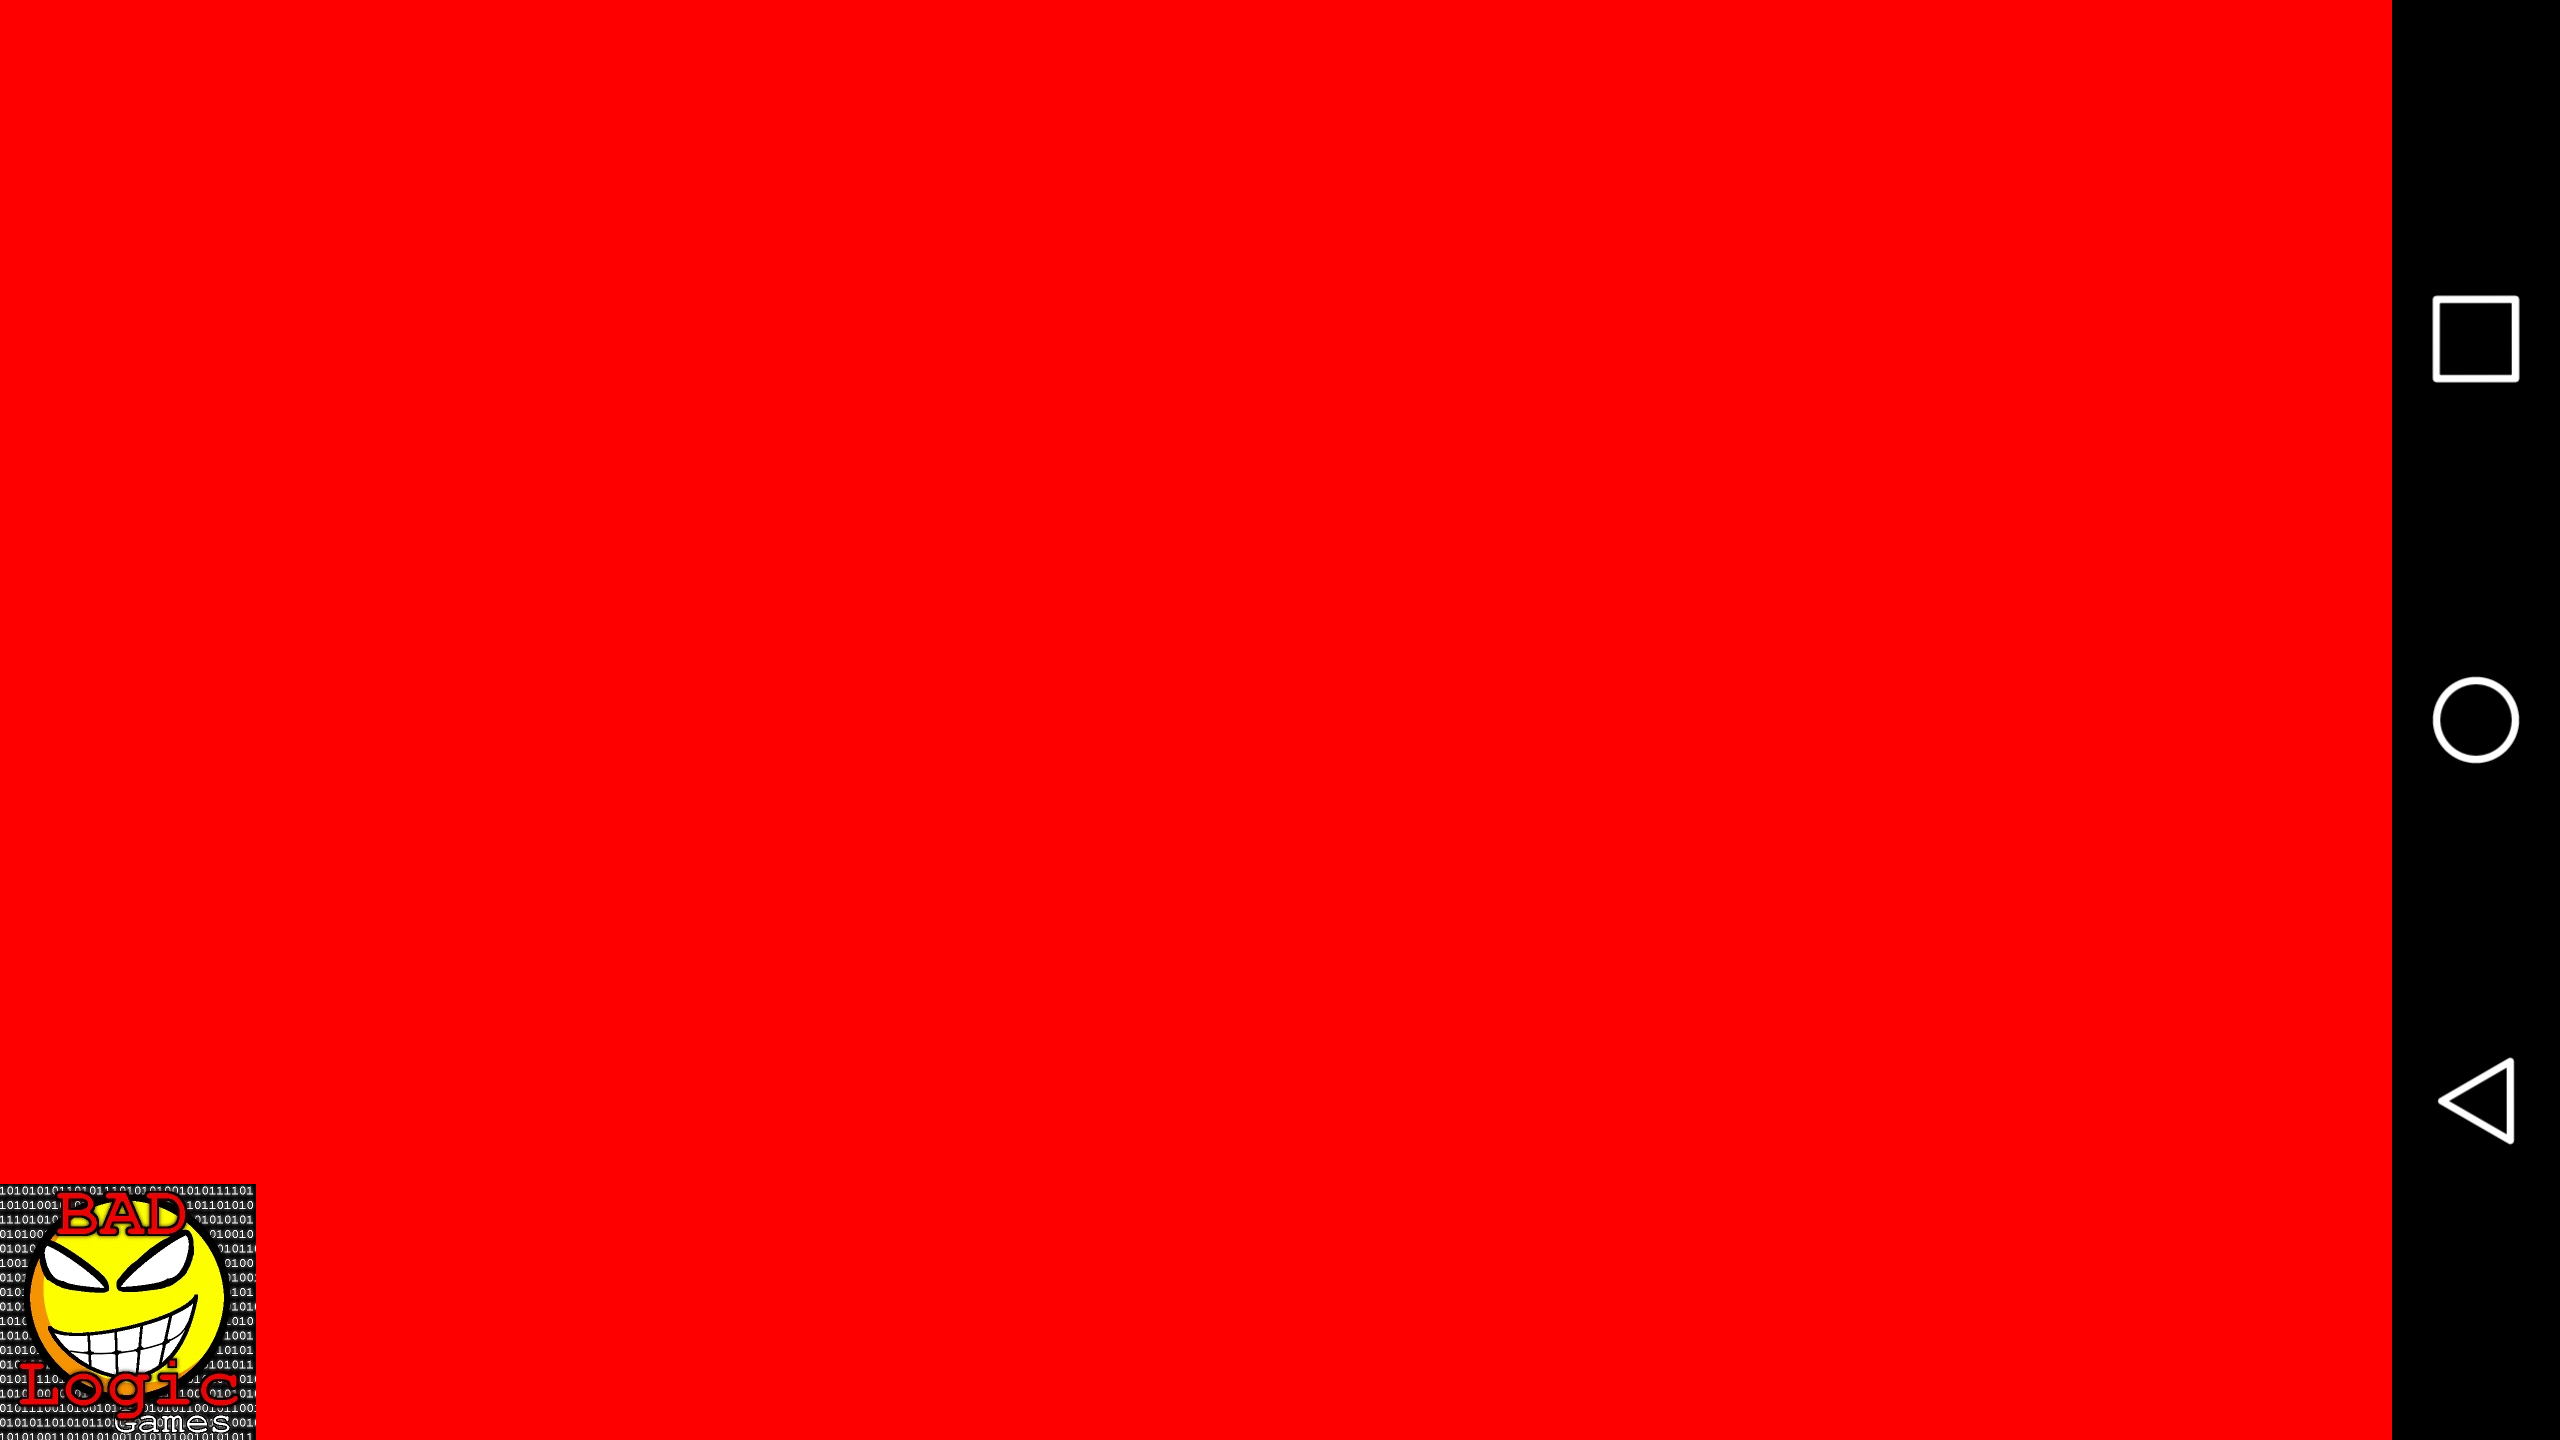
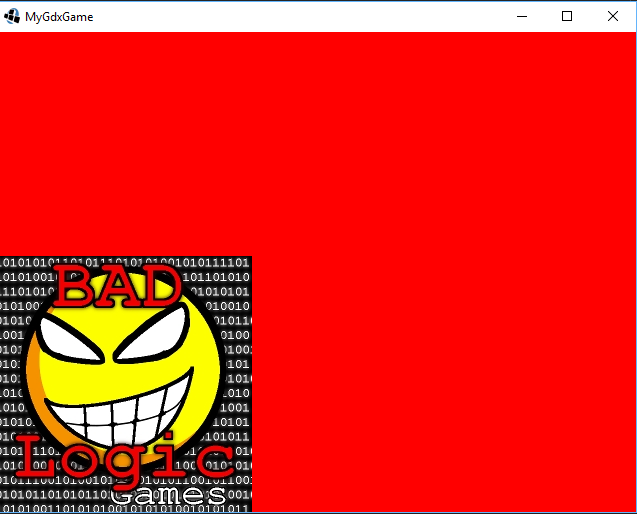
The Android Run configuration should already be configured. Click on the Run menu and choose 'Run android'. Pick a connected device or an emulator and click OK. If everything is working you should see a red background with a "Bad Logic" logo.
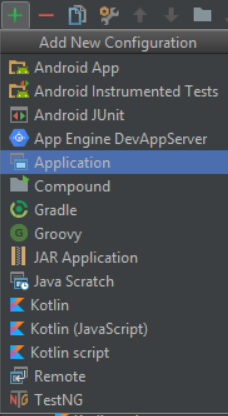
That's it if Android is the only configuration you want, however, I will also show you how to setup a desktop configuration. First, Select 'Edt Configurations' from the 'Run' menu. Click the '+' icon in the upper left and choose 'Application'.
There are 4 fields that need to be filled in. Below is a picture of the final settings. After that, I explain each of the 4 required fields.
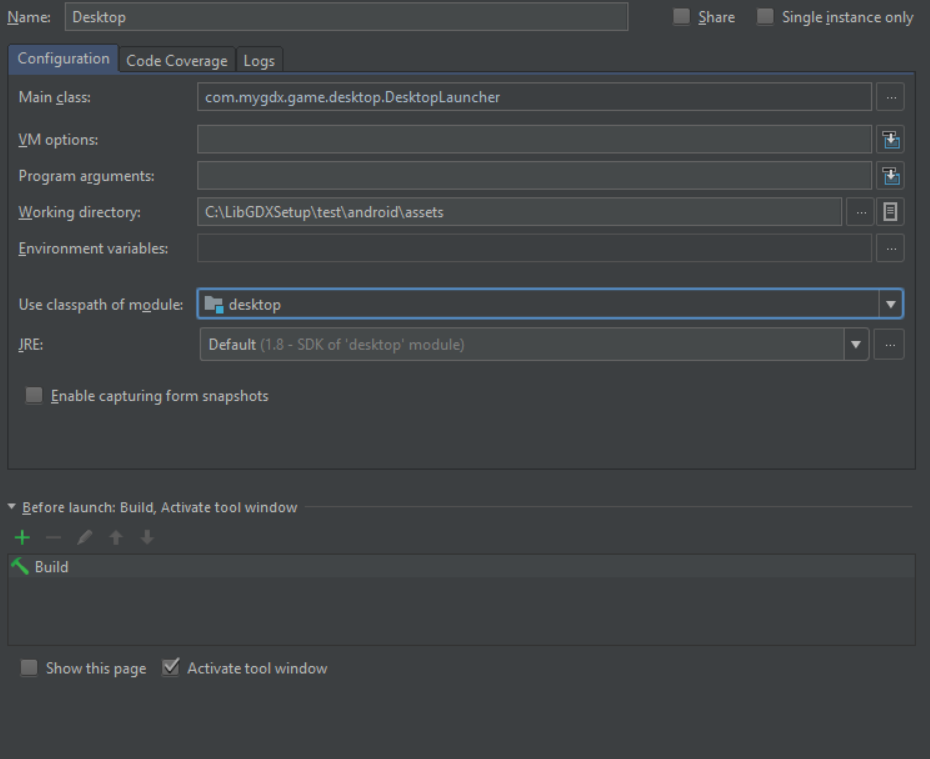
| Field | Description |
|---|---|
| Name | Used to identify the Run Configuration and can be anything. I went with 'Desktop' to identify it as the Desktop run configuration |
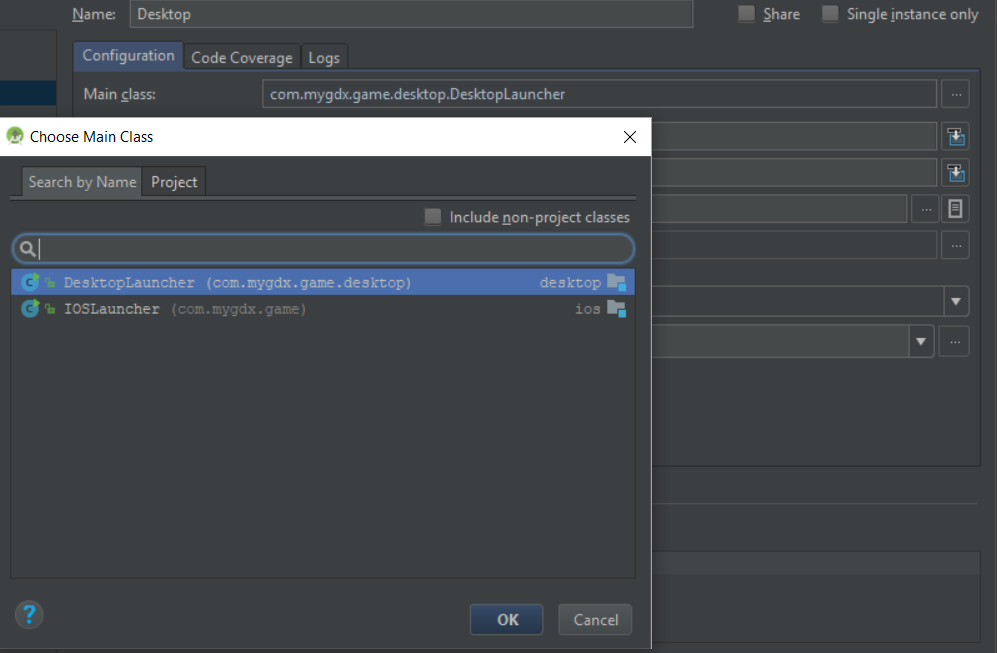
| Main Class | The name of the java class that contains the main method. Click on the ellipse to see options to select from |
| Working Directory | The path to the assets directory of the android project. We're going to use the same assets directory for both Android and Desktop configurations |
| Use classpath of module | Pick Desktop |
Clicking the elipse next to main class gives a nice selector screen to pick the main class
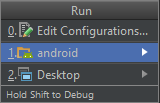
Select Run... from the Run menu. This brings up a list of available configurations. Choose Desktop to launch the desktop application.
Just like the Android application, you should see a red window with a "Bad Logic" image. This means everything is working.
In conclusion, it is possible to develop libGDX applications using Android Studio but there are a few selections that have to be made along the way. It is not always obvious from the message what the correct answer is but after some experimentation I found this combination works for me. I don't know if you will see all of the same prompts that I did. Some of them might be because I also have a Xamarin development environment through Visual Studio.


